I have a confession to make. My name is Kirstin Mckee and I am a diptych addict!
Last year I was obsessed with squares, but this year it’s all been about the power of two. Ever since doing Jonathan Canlas’s FIND course this Summer, I have been mesmerised by diptychs. They are currently very popular amongst wedding photographers and rightly so, because they are so versatile. In particular, they can tell stories in a way single images cannot.
So, having spent the last few months dabbling in the world of diptychs, I’d love to share with you some of my philosophy, secrets and tips about how to make them.
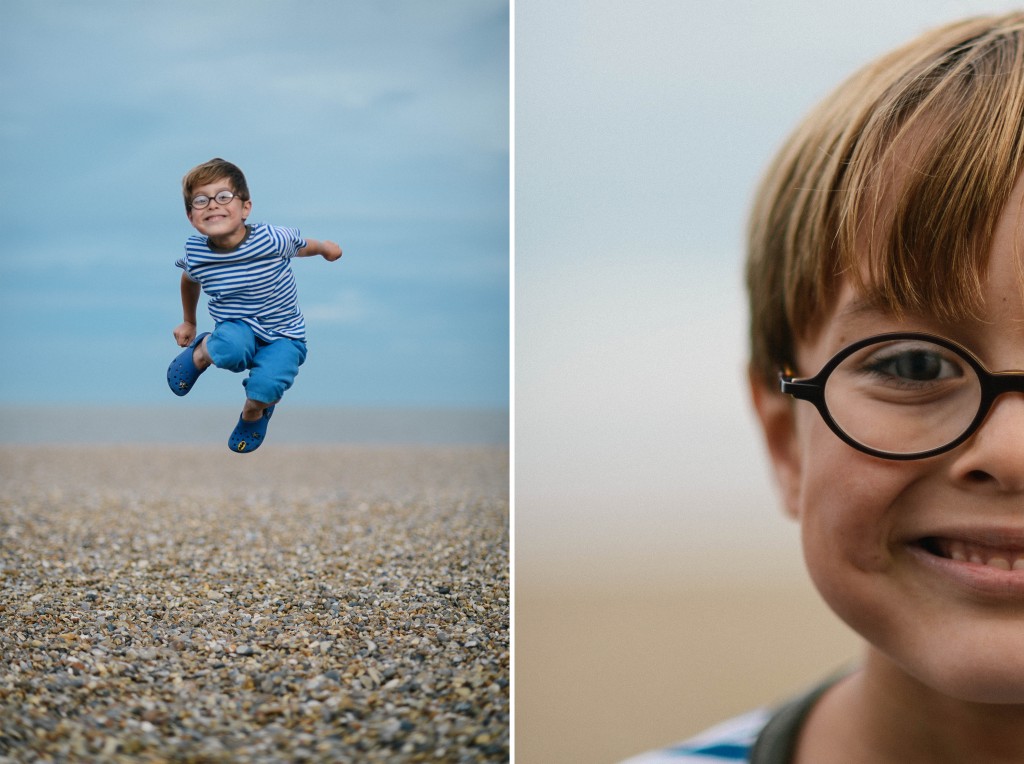
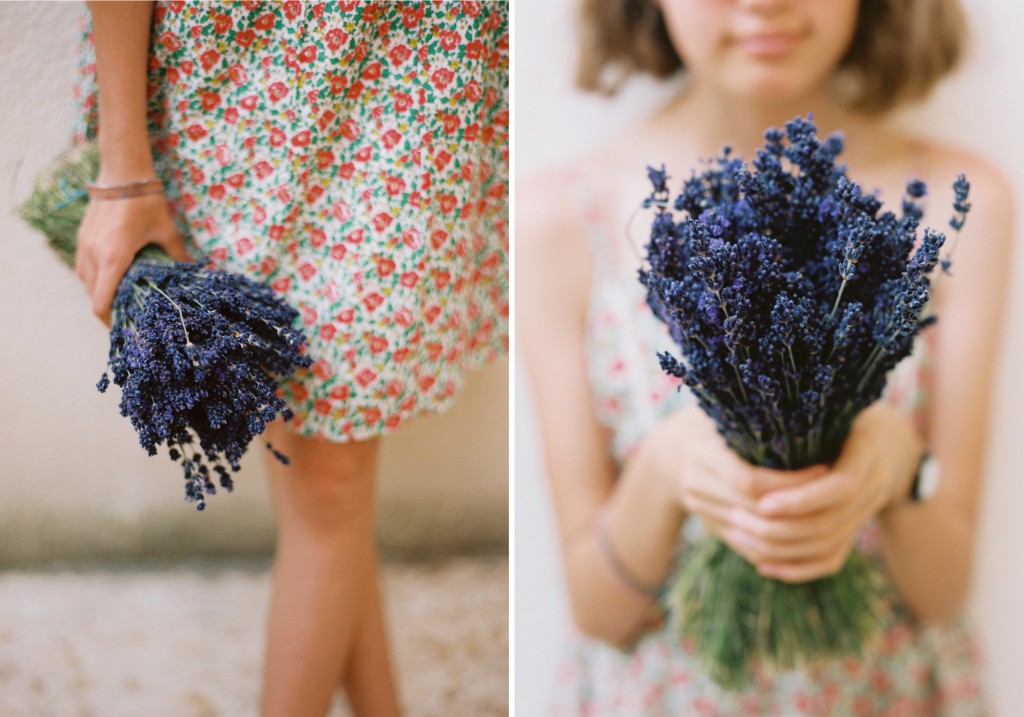
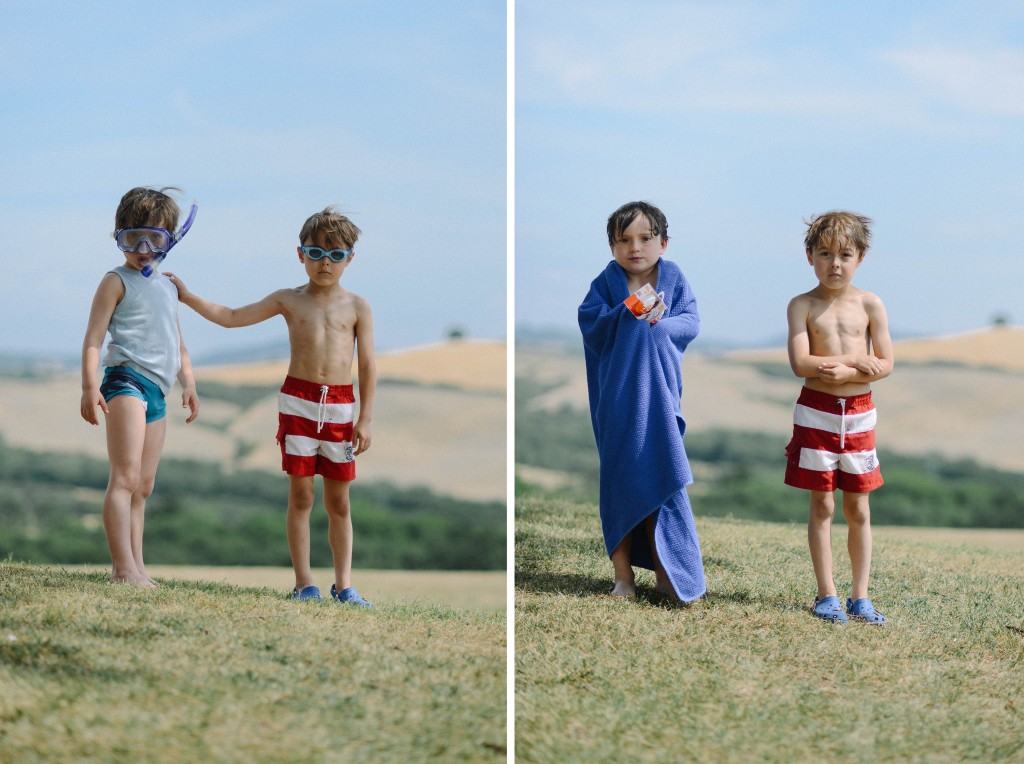
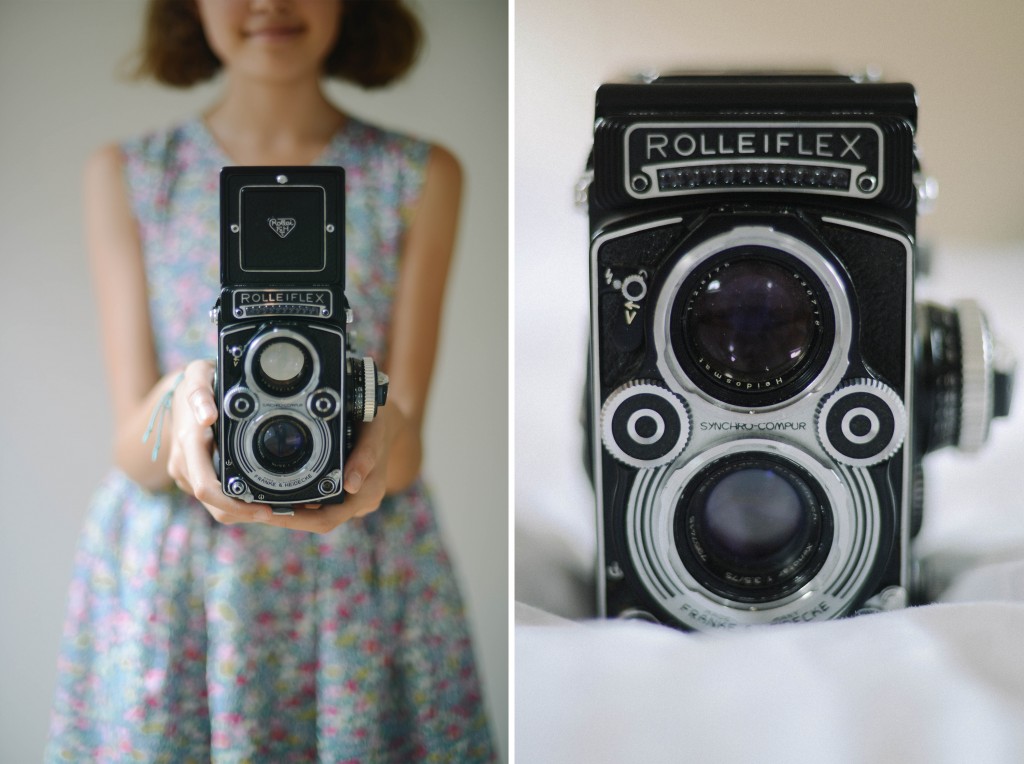
1. Take your pictures with diptychs in mind. I take pictures with my camera vertical, because I prefer to make diptychs with two portrait-format images side by side. If I am taking a portrait of someone, I take a close-up of them as one of the two images. The second image in the diptych is then either an even closer detail (such as a piece of jewellery) or a wider shot of them in context. It’s a lovely way to capture a portrait and provide a little more of the essence of the person. Diptychs don’t have to involve two pictures at different scales — sometimes two similar images can tell a story — but it’s a formula that works very well.
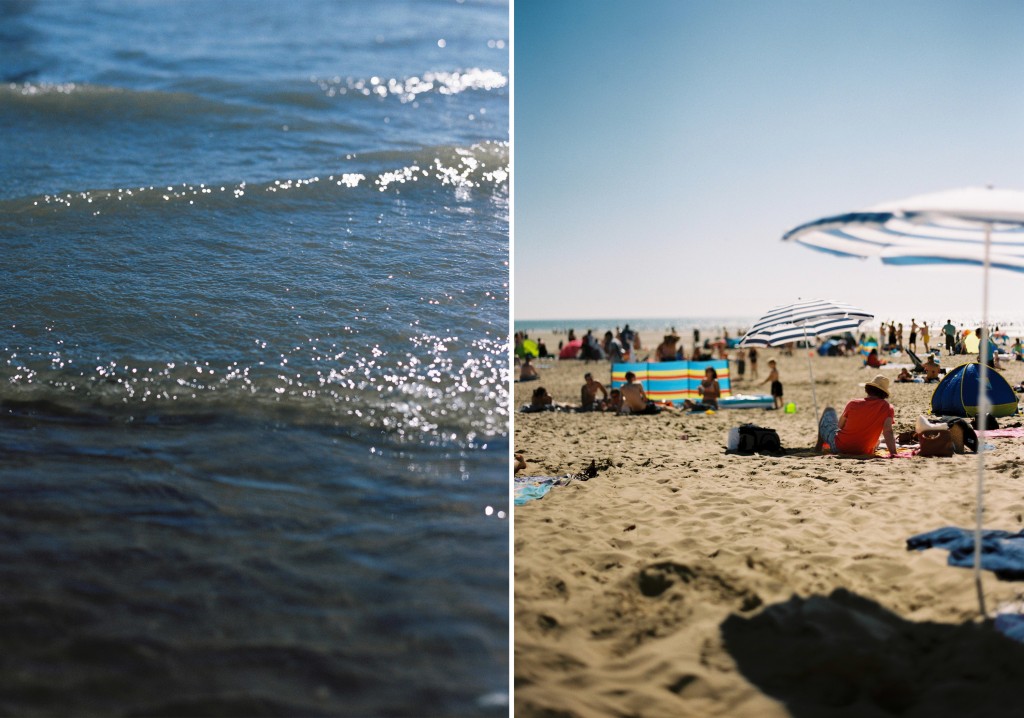
Even though you can barely see Ella’s face, you get the feeling of both summer and the girl in the diptych.
2. Shoot straight. As well as composing my images with diptychs in mind, I also try to ensure that they are symmetrical and as straight as possible. I use the grid on my Nikon viewfinder to help with the lines, I shoot with the 6×6 app on my iPhone with the grid on — and with the Contax 645 I just pray! If the pictures aren’t straight, I rotate and crop them so that they are. It takes a while, so that’s why it’s easier just to get them straight in the first place! I find that a 50mm lens (or equivalent) is the easiest for getting the horizontals and verticals straight. Any wider and it’s more difficult to match up the lines.
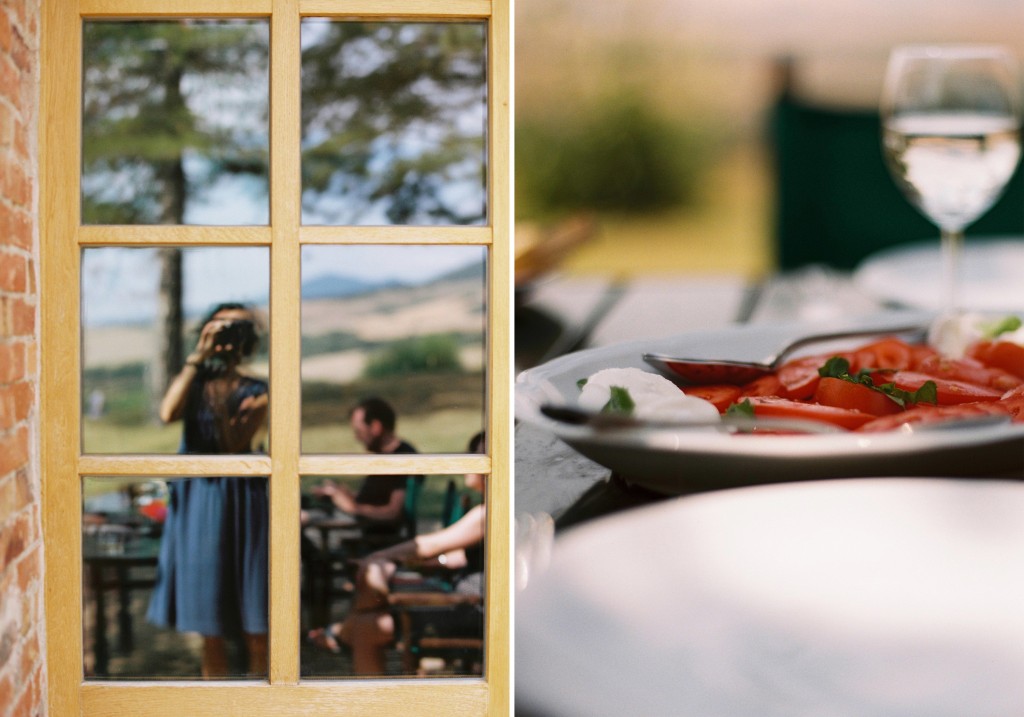
I did my best to make sure the camera was straight and symmetrical when I took these, but I still had to spend some time straightening them afterwards too.
3. Find your recipe. Now you’re ready to actually assemble your diptychs. I use Photoshop, but you can use Lightroom or an app on your iPhone, such as Diptic, or my favourite, Frametastic. There’s no right way to do this. I like to have a narrow white border between the two images. Some people like to combine two images of different sizes, or different formats (one portrait, one landscape). Experiment and find your own style!
4. Mix and match. When combining the pictures I sometimes choose contrasting colours, and sometimes similar ones. If I’m shooting digital, I always process the pictures in the same way to maintain the consistency between the shots (though most of these diptychs were taken with my Contax 645 using Portra 400 film, with no post-processing at all). Often I’m not sure which way around the pictures will go within the diptych, or which images will go well together, until I’ve tried a few different combinations. Do you want faces to look out of or into the diptych? Do you want to emphasise the similarity between the two images, or the difference? If you’ve used the rule of thirds, or even if you haven’t, you can sometimes establish links or echoes between the two pictures. I like to play around and combine images so that horizons and other lines in the images line up. Sometimes a bit of cropping is needed to get just the alignment I want.
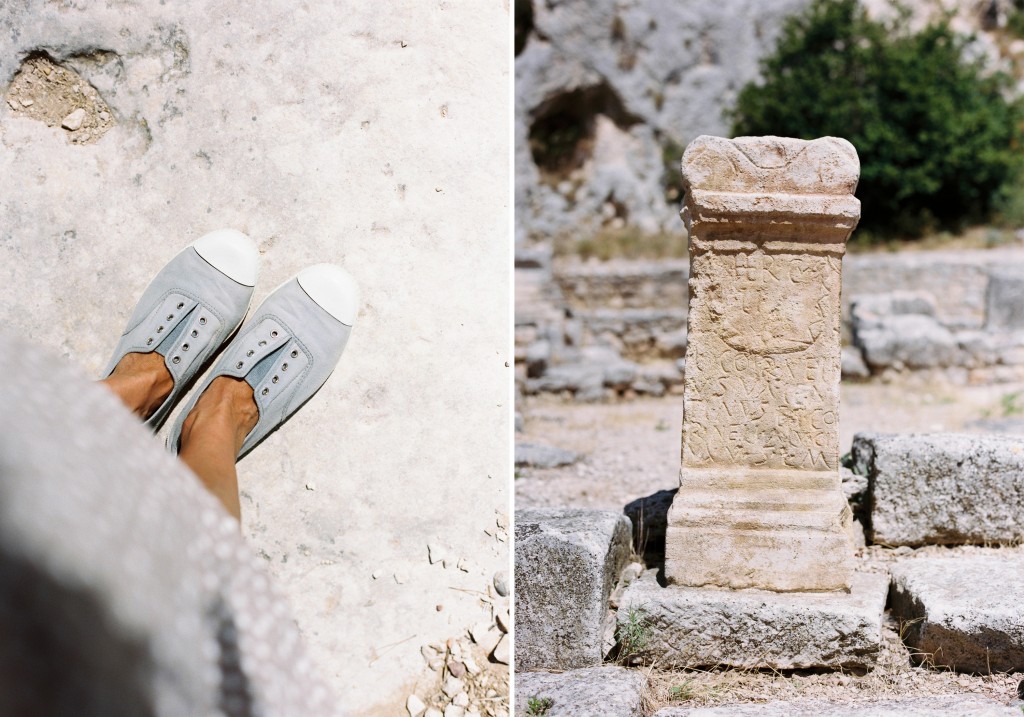
As we walked around this ancient Roman site, I realised that people had walked here thousands of years before me. And as I looked down at my feet, I realised my shoes, the street and the stones were all of the same hue.
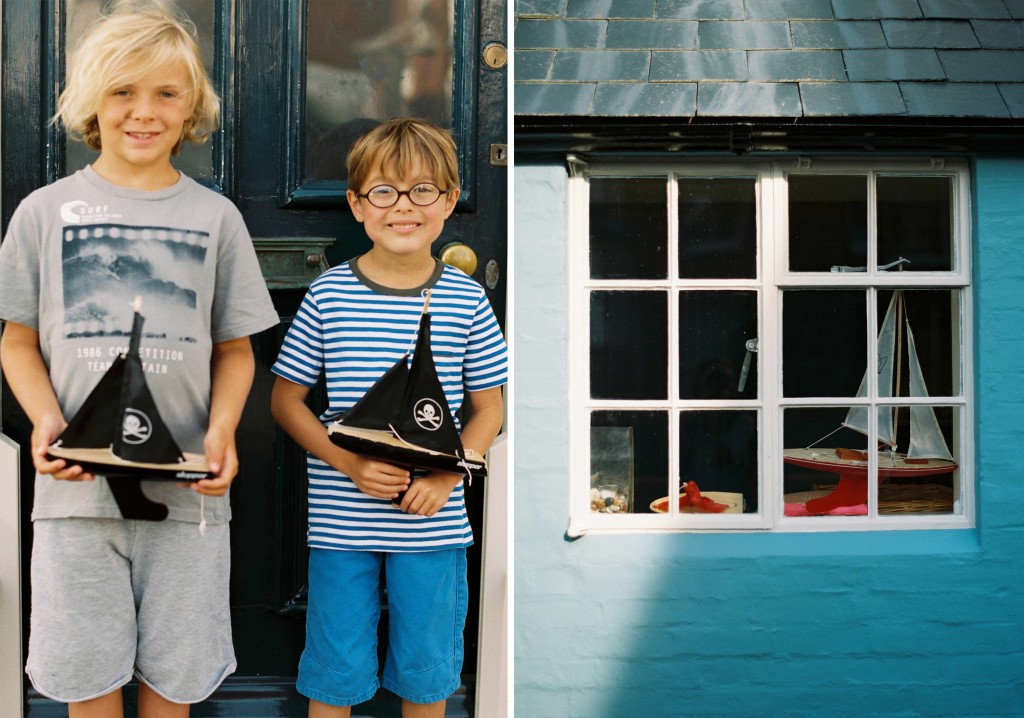
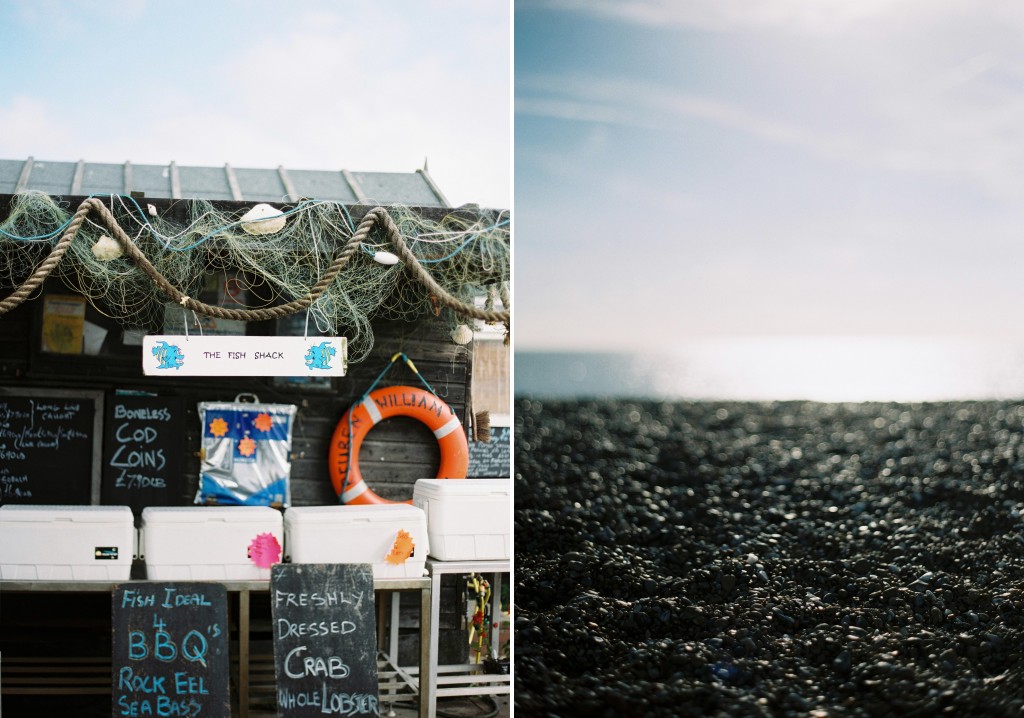
I loved all the different shades of blue we found in Aldeburgh, Suffolk. And there were boats everywhere too!
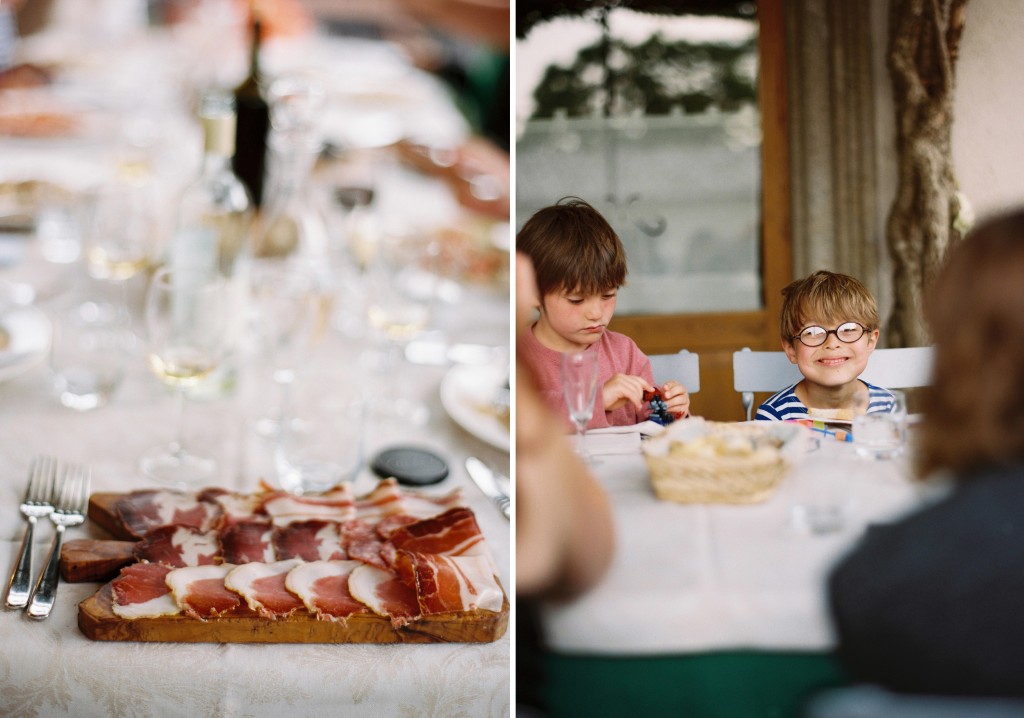
5. Build your narrative. A pair of photos can tell a story: a before and after, two different views of the same thing, two images from a meal or a lazy afternoon. And multiple diptychs, or a combination of diptychs and single images, can tell even more of a story! As you get more experienced with making them, you will come to appreciate the way they can be used as a stepping stone to narrative photoessays, which is something I am trying to do more of.
And have fun!
— Kirstin of fleetingmoments

These are all so fabulous. Thank you for sharing this Kirstin – so inspiring!! 🙂
My name is Tammy and I am addicted to your diptychs, too. Truly wonderful.
I love diptychs, too! I loved reading your post and seeing your lovely photos! Thanks, I’m totally inspired!
I have really enjoyed looking at your images this morning, I’ve tried a few diptychs in the past but I feel inspired to have another go. Thank you for sharing x
glorious images, and amazing inspiration. each of your diptychs is a miniature story. beautiful.
great post – really inspiring, thank you!
Fabulous post – really clear,concise and inspiring.
I rarely take the time to do this when creating my blog posts, but now I’m newly inspired! Your eye for a story is fantastic. These are beautiful 🙂
You just reminded me why I love diptychs…and don’t even get me started about your gorgeous images! happy day
Such a great post Kirstin! I’ve been drooling over your diptychs all summer and I’m so pleased that you’ve shared these tips and tricks here. I’m definitely inspired to try some. In fact, I’m cooking up a few ideas right now!
yes!! I adore your dips.Thanks for sharing all your tips!
love hearing how your brain works! i may have to try my hand at a few of these xx
Sweetie pie!!!! you so inspire me and encourage me to step out of my little safe zone!!!! now that you have given us this jumping off point, i know i must give the dips a try!!! you have made them so ultra gorgeous and, i have always said, you tell a story with your photos–this just enhances your storytelling gift!!! xxxooo
All your diptych’s are brilliant but I especially love the ones you selected. Thank you for the tips!
I’ve been enjoying your diptych series this past summer K!! Love them! I’ve created many myself, but have never posted them anywhere. Love the write up … this should inspire others to get their ‘dip on!’
Thank you so much! I love your diptychs and have been wanting to try and make one… or maybe two.
Wonderful post, Kirstin! I’ve been admiring diptychs of late, so your ideas and imagery are perfect….must give this a go. Thanks!
Kirsten, I really enjoyed your helpful advice and most intriguing pictures. U have really got me thinking. Keep the passion burning, you are fab at photography
Typo … KirstIn …oops,
Love, love, love this post, Kirstin! So inspiring AND helpful!
This is so inspiring. I’m going to try this tonight when I walk my dog on the beach!
Oh! This is such an awesome post and so much fun with so many good tips! Thank you!!! I’m going to have to give it a try!!!
I love these! You definitely inspired me to give these a try again.
Thank you for the inspiration. I love all the photos and can’t wait to try more. I took a few photos last night and put together a collection for my sadly neglected blog. Haha.
A wonderful piece Kirstin – very inspiring. I’m sure I and many others will be giving these a go shortly 🙂
you are a diptych queen! i love your images and those tips are fab 🙂
thanks so much for this. i too feel so inspired to try it out now. i am still in the square phase. oh, and your photos and diptychs are just beautiful!
Such a lovely post and images. Your diptychs are a beautiful form of visual storytelling. You’ve inspired me creatively, thank you for the tips!
I love the beautiful stories you tell in two frames. So sweet of you to share these tips!
These are wonderful. I will definitely be giving them a go.
I love these! Thanks so much for sharing! 🙂 Lynn
absolutely swooning.
LOVING