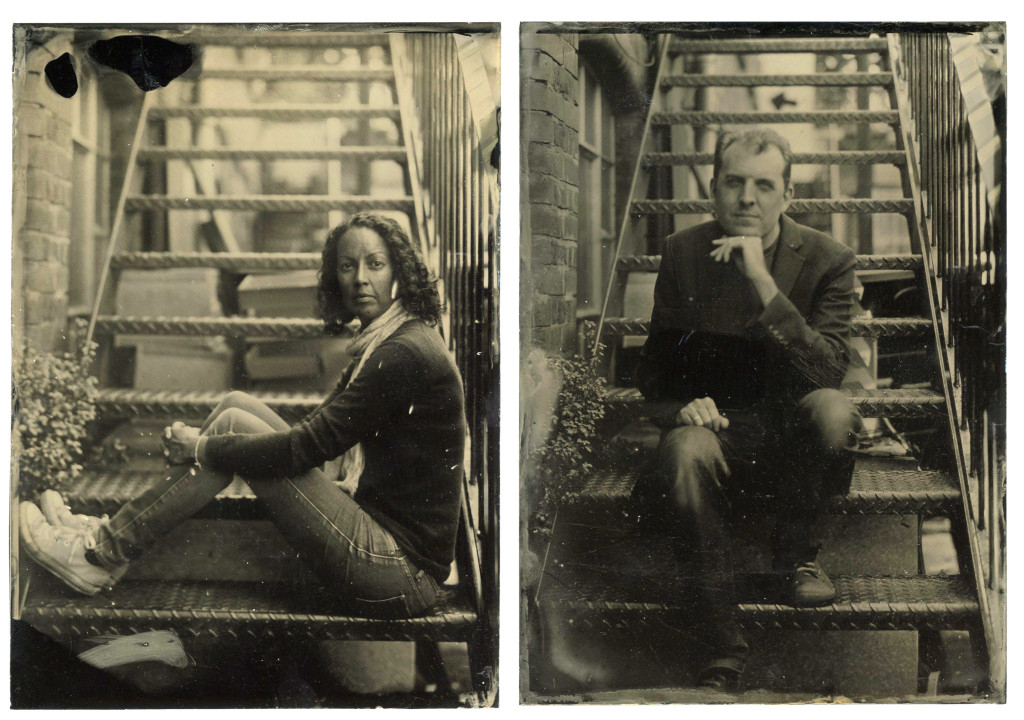
Last month I spent a weekend doing “wet-plate collodion photography” course. As you may have noticed, I enjoy the challenge of shooting film, and I’ve tried successively larger formats (including 120 and 5×4). Larger formats mean fewer shots and require me to put much more thought into each image. So I wanted to take this process to its logical conclusion and try the oldest, most fiddly kind of photography there is. And that’s what wet-plate collodion is. It dates back to the 1840s, and it’s the basis of glass plate and tintype processes. Also, I am a huge fan of Julia Margaret Cameron, and this is the process she used. So that made me want to try it, too.
Fortunately, there are people out there who will show you how to do it all, even if you’ve never been near a darkroom before. People like John Brewer, our tutor for the weekend, who holds regular workshops in Manchester and London. (Other people do the same in other parts of the world.) Our course was hosted by the Double Negative Darkroom, based in East London, not far from where I live. It began on a Saturday morning. There were seven of us, including me and my husband. We all had different reasons for wanting to explore this old technique: for personal projects, to teach it to others, to try something new or to experience photography in its original, primitive form.
John started by telling us the history of the process, and explained in detail just how dangerous it was to mix the chemicals yourself. It turns out that you can create explosives by accident, and poisonous cyanide gas. Fortunately John had mixed everything for us in advance. He also explained how to operate the old cameras and lenses we were using, many of which were themselves antiques.
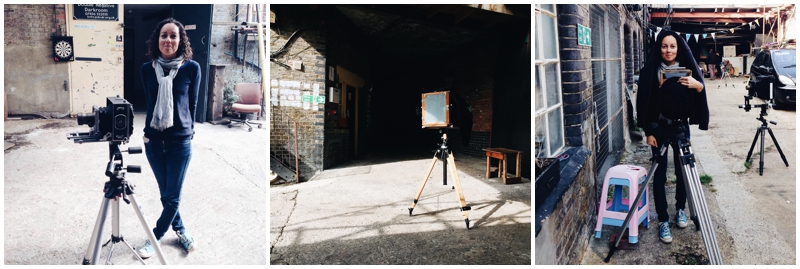
The wet-plate collodion process involves a huge number of manual steps: cutting the glass or metal plate; wiping egg-white along its edges; coating it with collodion; making it light-sensitive by dunking it in silver nitrate; loading it into a “dark slide” which is inserted into the camera; taking the picture; then processing it, which is rather like printing a black-and-white image, before the plate dries out. You have about 15 minutes to do everything. This is why photographers in the 19th century had to take chemistry labs with them everywhere, in black tents. There are a lot of steps, and a lot of things to go wrong. It’s truly amazing that people managed to photograph anything!
For each image, we set up the shot we wanted in advance, focusing and all that. Next, we went into the darkroom to make the wet plate. On the first day we all made images on glass, and on the second day we used aluminium (images on metal plates are called tintypes). We then went outside to expose the plate. This process has an effective ISO/ASA of less than 1, so it requires long exposures, typically of between four and 11 seconds. You can’t use a light meter, because wet plates are sensitive to a different range of the visible spectrum. So John had to guess the initial exposures for us as a starting point, and we all adjusted as we went along. The exposures are so long that cameras of the period do not need shutters. Instead, we could just put a bowler hat over the end of the lens, remove it for the exposure, and then put it back again.
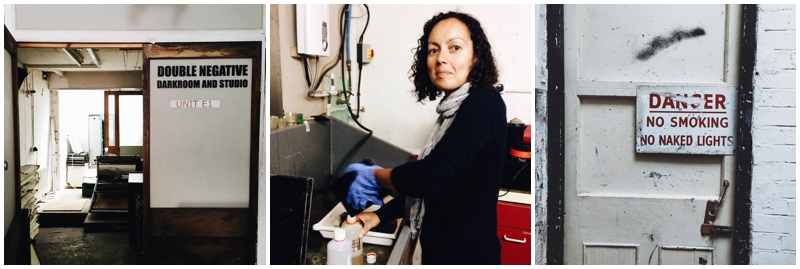
Then we rushed back inside to develop the image under a red light in the darkroom. This involves pouring developer over the plate so that it is entirely covered (I got this wrong every time, in different ways). Once the image has appeared in negative, water is used to stop the process, and the plate is then dropped into a fix bath, which causes it to turn, magically, into a positive image. It’s the fix bath that can produce cyanide fumes if you get things wrong. Finally, the image goes into a water bath to be washed. When the plate is dry, there’s another opportunity to mess things up: coating the image with lavender oil, which again must be poured by hand to make an even coat, and only when the plate has been heated up with a hair dryer. It smells lovely, though.
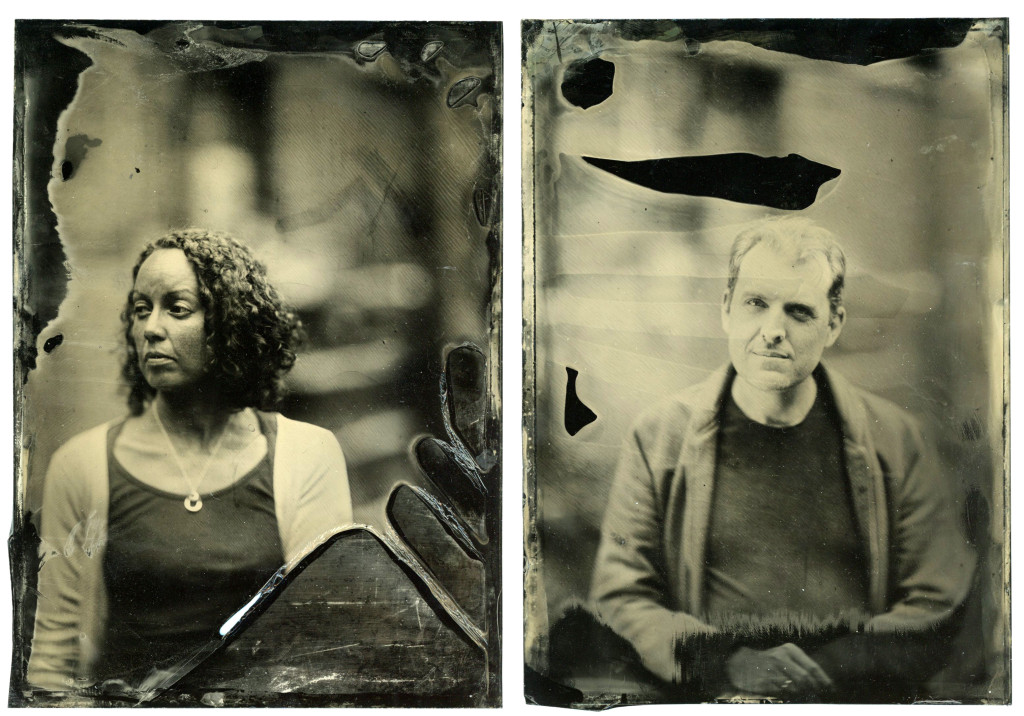
Each of us made several images. A few of them came out perfectly, but most of them went wrong in one way or another, and we were all able to learn from each other’s mistakes. It didn’t matter that things went wrong, and some of the mistakes looked really arty, like my husband’s first glass-plate image of me. You can tell that he didn’t fully coat the plate with collodion, so there’s a blank area at the bottom right.
We all came away from the course impressed by just how difficult photography used to be. At the same time, it must have seemed like magic, so you can see why people were prepared to make all that effort. But when you see a picture that has been taken outdoors, it’s amazing to think how much equipment had to be carried around! The immediacy of the process means it is, in some ways, like a Victorian Polaroid. But we had the darkroom nearby and everything mixed and ready to go, which made it quick and easy. In reality, in its inconvenience and lack of portability, wet-plate collodion photography is as far from digital photography as it is possible to get. And that contrast is what makes it so interesting: it forces you to concentrate on the alchemical process of capturing light. It really made me think how far photography has come over the years and made me have even more of an appreciation for those very old images.
This looks like such a good experience and those photographs are incredibly impressive!
Thank you Jenny! x
Thank you for sharing this, Kirstin. It’s so fascinating to me! I really enjoyed reading about the process. Julia Margaret Cameron was such a bad-ass, wasn’t she?!
She was such a bad-ass and I have even more respect for her now, if that is at all possible!
I am so happy you shared this, Kirstin! The images are just stunning, and the artifacts/imperfections left by the lack of emulsion are (for me!) are one of the things that make this process so visually beautiful.
It’s also pretty amazing when you think about the antique tintypes and ambrotypes, and that the plate itself was actually in the room and in the PRESENCE of the sitter when the photograph was made. I’ve always really enjoyed thinking about that – that the light that made the image on the emulsion is the same light that was reflected off of someone over 100 years ago.
Again, so glad you shared this!!!
Anna, I love that aspect too! And it makes it even more magical, doesn’t it? x
AH! Lucky you and Tom. This is such an awesome old school technique and process. I would love to give it a go. The images are amazing.
Thank you! You really should give this a go. You would love it! x
Wonderful post and images. I had no idea that those old photos were that complicated. Thank you.
Thank you!
Such a fascinating process. So tricky! Big fan of Julia Margaret Cameron. I love that, like me, she started her journey with photography a little later in life. Fab post, Kirstin x
Holy crap these are so amazing! So glad you had a chance to try it. xo
I’m so jealous. I stopped in the midst of a story I’m writing to see if I could get an idea of the business of Victorian era photography and saw found John’s workshop page and then your video. It only wetted my appetite for more. (It’s probably not pertinent to my story, but now I hunger for authenticity.) Thanks for sharing your experience 🙂